
A bathroom renovation can look finished on the day the tiles are laid, yet the most important protection sits behind those tiles. Before tiling begins, the builder should be satisfied that the surfaces, drainage details, penetrations, junctions and waterproofing system have been prepared and checked for the actual bathroom design. Homeowners do not need to inspect membrane thickness themselves, but they should understand the hold points and know who is accountable for the work.
This practical Sydney bathroom waterproofing checklist focuses on the period between demolition and tiling. It is different from choosing where to put your vanity, shower or toilet. If layout changes are still being considered, start with our bathroom layout renovation guide. Once the layout is settled, use the checks below to discuss the concealed work with your builder.
Why bathroom waterproofing cannot be left until tiling day
Tiles and grout provide a surface finish; they are not a substitute for a properly designed waterproofing system. Water can reach a substrate through joints, movements or penetrations. If that moisture is not managed, damage may develop behind wall finishes, under flooring or in adjacent rooms. In a second-storey bathroom or an apartment, the consequences may also affect spaces below.
The National Construction Code (NCC) sets wet-area performance and construction requirements. For houses under NCC 2022 Volume Two, wet-area provisions refer to the ABCB Housing Provisions Part 10.2 and, under the applicable pathway, AS 3740:2021. The correct compliance pathway and currently applicable edition must be checked for the project by the responsible building professionals. The ABCB’s NCC Volume Two describes those technical pathways.
In NSW, waterproofing is a recognised trade category. Check that your builder and specialist contractors have appropriate authorisations for the work undertaken. See the NSW Government’s waterproofing licensing guidance rather than relying solely on a verbal assurance.
Check 1: Understand what the demolition exposed
Once the existing tiles, fittings and linings have been removed, the team can see more of the actual substrate. Ask whether timber framing, sheeting, concrete, wall bases and the floor near the shower show evidence of damage or movement. Look out for a scope change being discussed without an explanation of its cause.
Older homes can have previous waterproofing layers, patched repairs or changes to floor levels that are not obvious from an early quotation. The relevant trades should determine whether the substrate needs replacement, repair, strengthening or a different preparation method. It is better to address a deficient base now than to install new finishes over an uncertain surface.
Ask the builder to record concealed conditions and agree on any proposed extra work before proceeding. Our renovation variations guide explains how to document scope changes sensibly.
Check 2: Confirm the shower type and the water-control details
The correct waterproofing extent depends on the shower’s configuration, including whether it is enclosed, unenclosed, hobbed, stepped-down or level-entry. Before the membrane is applied, confirm that the shower-screen arrangement, set-out and adjacent bathroom areas are understood.
A walk-in shower is not automatically simpler than a framed enclosure. Water can travel beyond the nominal shower footprint, and a level-entry design must be coordinated with the relevant water containment, falls and accessibility requirements. The team should show how the design satisfies the applicable wet-area provisions and how water will be directed to the correct outlet.
For houses assessed under NCC 2022 Housing Provisions, shower walls are required to be waterproofed to at least 1,800 mm above the floor substrate under the relevant prescriptive provisions; other details depend on the particular system and layout. Do not treat one numerical rule as a complete compliance checklist.
Check 3: Agree on floor levels, drainage and falls
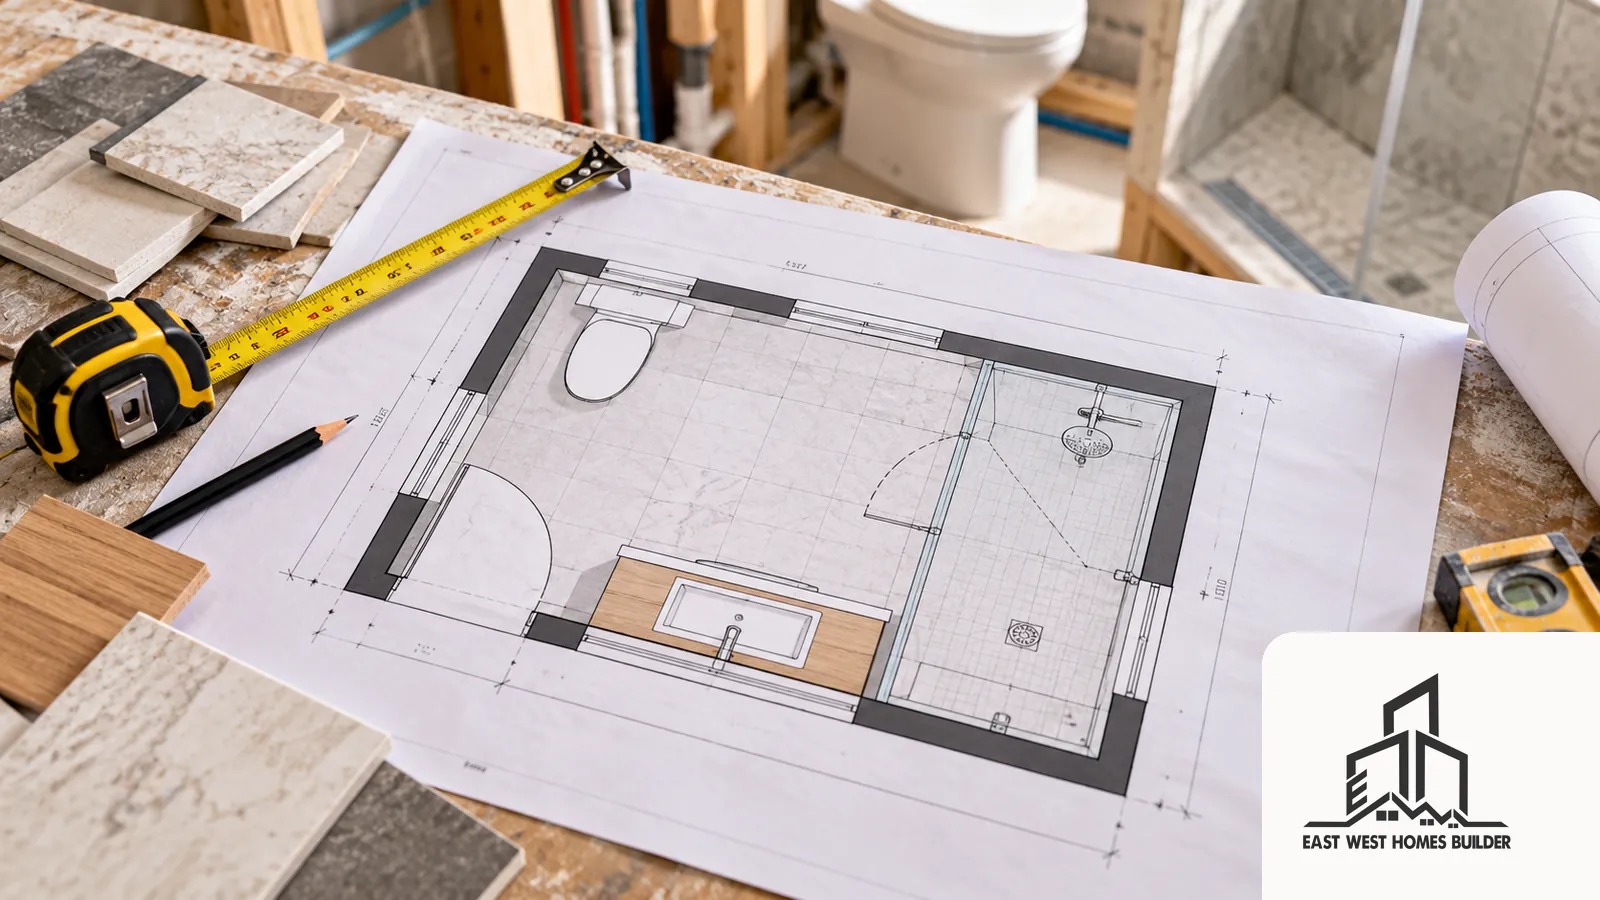
A bathroom floor has to connect correctly to the shower and any other wastes. Ask where the finished-floor levels will be, whether thresholds create a trip point and how the necessary falls will be formed. A large-format tile choice or a very flat visual style should never dictate a non-compliant floor.
The NCC provisions distinguish between floor wastes required by a particular configuration and floor wastes that an owner chooses to install. Where a floor waste is installed, the applicable falls and associated details still require design attention. The builder, plumber, designer and waterproofer should agree who sets the drain location and which trade forms the falls.
If a shower drain is being relocated, consider the plumbing route before the membrane design is finalised. Moving a fitting can affect slab penetrations, available floor depth and the extent of making-good. These decisions are not just about appearance.
Check 4: Treat corners, joints and penetrations as a coordinated system
Ask for particular attention to wall-to-floor intersections, internal corners, changes in substrate, shower hobs or thresholds, floor wastes, mixers and pipe penetrations. Different materials move differently, and a membrane system must be installed with the compatible primers, tapes, bond breakers and accessories specified for it.
A photograph showing a single coat of membrane on a flat wall is not proof that every hidden junction was treated properly. The builder should have a process for checking these details before subsequent coats and before any protective or finish layers cover the area.
Penetrations for new shower fittings should be coordinated before waterproofing, not improvised after the membrane has been completed. Future work that cuts through a protected surface may require specific reinstatement details.
Check 5: Verify the chosen system and installation responsibilities
Ask which waterproofing product or system is proposed, the manufacturer’s intended application, and the types of substrate it suits. Check that the preparation products, membrane, accessories and tile adhesive are compatible according to the relevant technical instructions.
The responsible trade should determine required coats, treatment at junctions and necessary curing conditions. Product instructions can impose specific requirements for temperature, substrate moisture, thickness and waiting times. The homeowner should not substitute a generic “24 hours is enough” rule for the actual system requirements.
It is also worth asking who coordinates the handover between plumbing rough-in, sheeting, waterproofing and tiling. The builder needs to know precisely which trade owns each interface rather than assuming the next contractor will resolve incomplete work.
Check 6: Establish a hold point before the tiles go on
A practical hold point means the tiler does not start covering the waterproofed surfaces until the responsible person has checked the relevant details and recorded that the area is ready. The appropriate inspection or testing requirements depend on the project, approved documents, applicable standard and selected waterproofing system.
Ask your builder to record the installation stage with useful photos, including the shower, floor waste, corners, thresholds and wall-to-floor junctions before they are concealed. Where testing or certification is specified, confirm who arranges it and how the result will be documented. Do not assume every bathroom is subject to an identical flood-test duration, certificate or inspection process.
A clear handover reduces arguments later. It also allows any incomplete or damaged membrane sections to be addressed before tiling makes access difficult.
Check 7: Know how the bathroom will be protected between trades
A completed membrane can still be compromised by careless storage, foot traffic, dropped tools or later penetrations. Ask who controls access to the wet area and what protection is planned while the membrane cures or awaits tiling.
The project programme should allow realistic time between substrate preparation, waterproofing, tiling, grouting, screens and final fittings. In a home with several bathrooms, sequencing trades across rooms can improve efficiency, but a compressed programme must not override the selected products’ requirements. See our multi-room renovation sequencing guide for the wider coordination picture.
Check 8: Include the concealed work in your written renovation scope
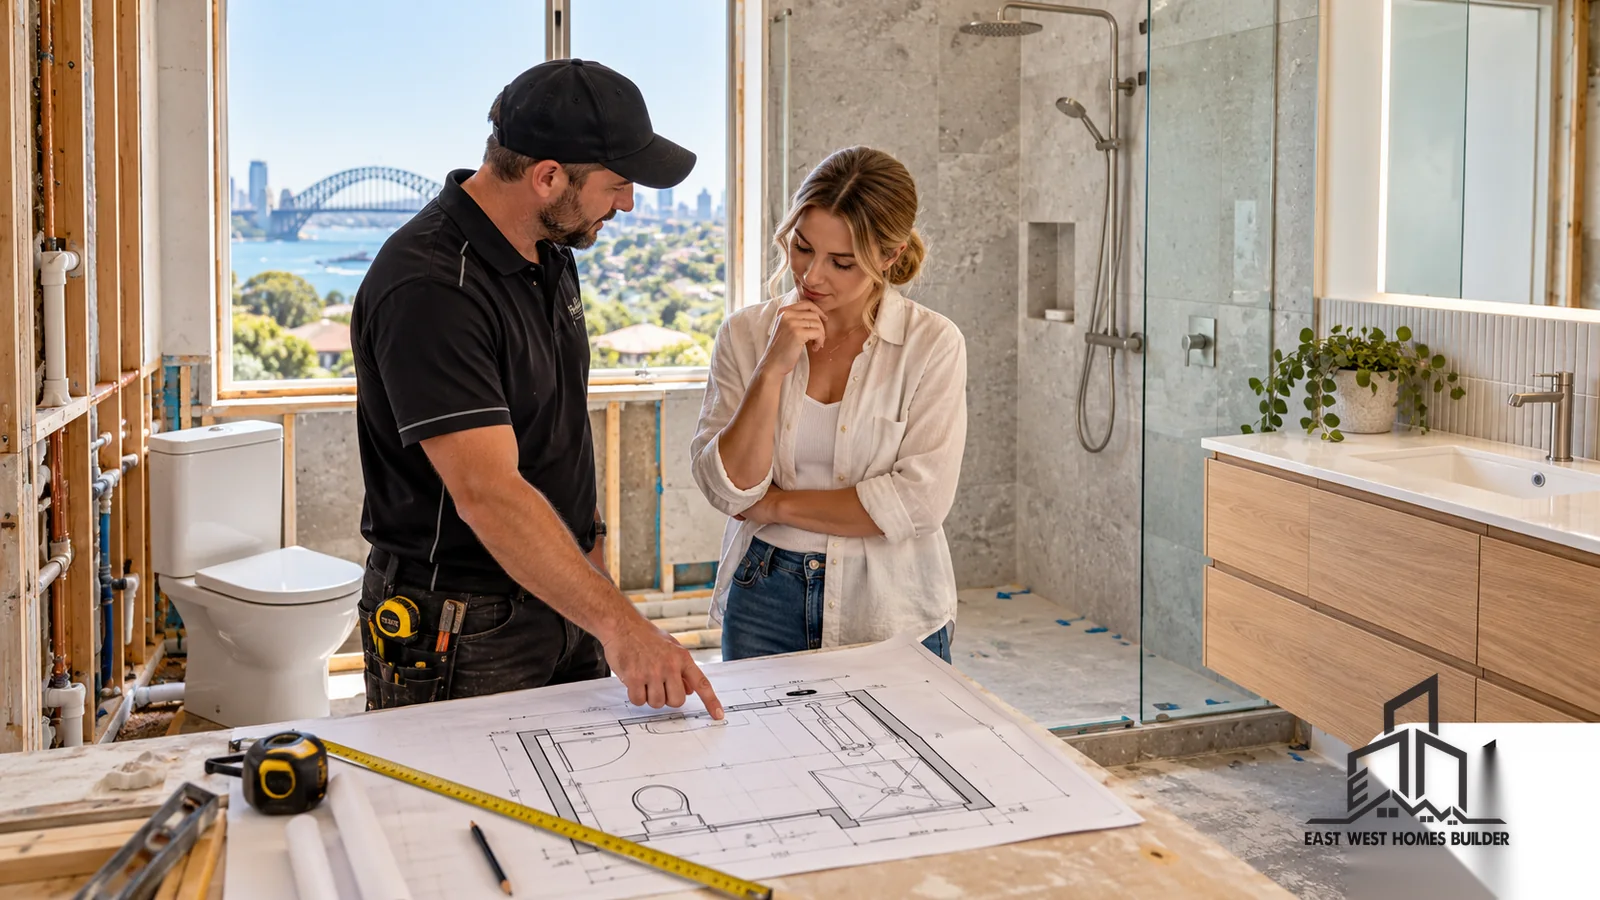
A quotation should tell you whether demolition and disposal, substrate repair, sheeting, waterproofing, tiling, wastes, screeds, shower screens, plumbing and final making-good are included. Some items may need provisional allowances because the existing conditions are concealed. If so, make the uncertainty explicit.
Do not compare a price including new substrate and drainage works with another price limited to tiling and membrane application as if they are the same service. See our Sydney renovation quote comparison checklist for broader tender questions.
A homeowner’s waterproofing handover table
| Stage | Ask your builder | Useful evidence |
|---|---|---|
| After strip-out | Were damaged or unsuitable substrates identified? | Photos and agreed repair scope |
| Before membrane | Are drainage, shower layout and penetrations resolved? | Coordinated set-out and trade instructions |
| During membrane work | Was the specified system and junction detailing used? | Product/system record and progress photos |
| Before tiling | Have required checks, curing and any specified tests been completed? | Relevant inspection or completion records |
| Final handover | What work details and care instructions should be retained? | Applicable paperwork and maintenance advice |
Frequently asked questions
Can I waterproof a bathroom myself in NSW?
Residential waterproofing is regulated building work. The authorisation requirements depend on the type and value of work and the person’s role. For a renovation, check the appropriate contractor or trade credentials against the NSW Government’s current licensing guidance; do not rely on an informal DIY assumption.
Does tiling make a bathroom waterproof?
No. Tile and grout finishes should be treated as part of the complete wet-area system, not as a replacement for the required waterproofing and drainage details behind them.
Does every bathroom renovation require the same flood test?
No single blanket testing rule should be assumed for every bathroom. The appropriate checks depend on the project, compliance pathway, documentation and membrane system. Ask the responsible builder to explain what evidence will be provided before tiling.
Should I relocate the shower waste before or after waterproofing?
The drain position and plumbing route should be resolved and the affected substrates correctly prepared before the relevant membrane is installed. Changes after that point may require redesign and reinstatement of the waterproofing.
Plan a bathroom renovation with EW Homes
If you are planning a bathroom upgrade in Epping, Eastwood, Carlingford, Ryde or another Sydney suburb, describe your existing bathroom, the proposed layout and any known leaks or damaged surfaces. Explore our home renovation services, then contact EW Homes to discuss the project scope and a realistic assessment. A careful brief before demolition makes the waterproofing and finish stages easier to coordinate.